Flowmotion: Difference between revisions
m (→Mechanics) |
m (→Mechanics) |
||
| Line 24: | Line 24: | ||
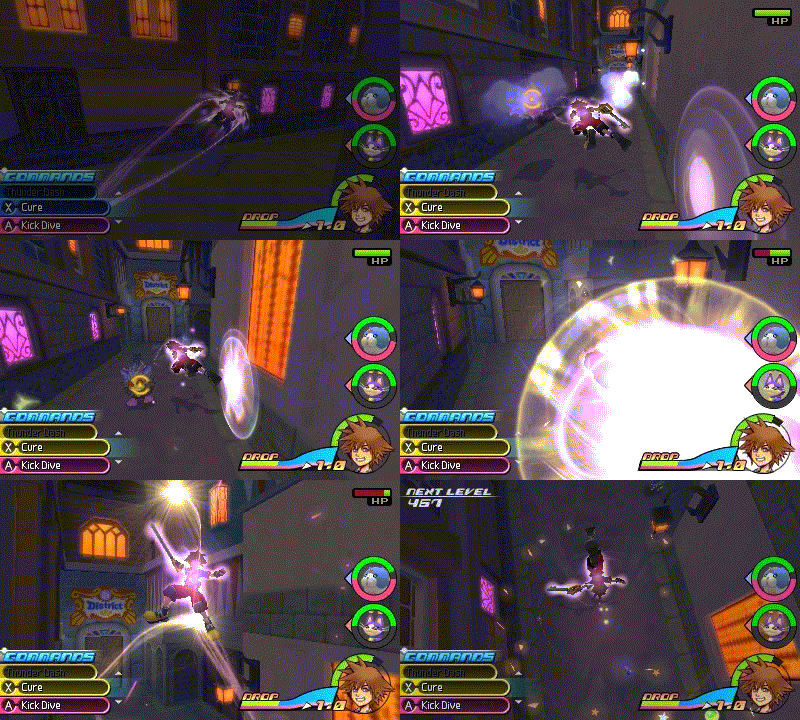
Once a Flowmotion is activated, it can be chained together with additional actions. The player may press {{button|DSY}} to use a [[Burst of Speed]] to travel long distances or transition to another Flowmotion-compatible surface, {{button|DSB}} to perform a [[Super Jump]] that boosts the user to a great height, or {{button|DSA}} to use a {{nihongo|'''Flowmotion Attack'''|フリーフローアタック|Furīfurō Atakku|lit. "Freeflow Attack"}}, which depends on the Flowmotion action the player is using. When you finish a boss, a portal, etc, using Kick Dive before you begin to do the shockwave will make the finish quickly vanish. | Once a Flowmotion is activated, it can be chained together with additional actions. The player may press {{button|DSY}} to use a [[Burst of Speed]] to travel long distances or transition to another Flowmotion-compatible surface, {{button|DSB}} to perform a [[Super Jump]] that boosts the user to a great height, or {{button|DSA}} to use a {{nihongo|'''Flowmotion Attack'''|フリーフローアタック|Furīfurō Atakku|lit. "Freeflow Attack"}}, which depends on the Flowmotion action the player is using. When you finish a boss, a portal, etc, using Kick Dive before you begin to do the shockwave will make the finish quickly vanish. | ||
Air Sliding tends to allow for an instant transition into Flowmotion, while any Dodge Roll-type command only allows so during the final few frames of the command's recovery; in short, activating Flowmotion is faster with an Air Slide than with a Dodge Roll command. | Air Sliding tends to allow for an instant transition into Flowmotion, while any Dodge Roll-type command only allows so during the final few frames of the command's recovery; in short, activating Flowmotion is faster with an Air Slide than with a Dodge Roll command, and also works as fast with both [[Sonic Impact]] and [[Double Impact]] alike. | ||
Any form of Flowmotion also prevents the user from being knocked out of it, allowing for easy interceptions | Any form of Flowmotion also prevents the user from being knocked out of it, allowing for easy interceptions in the style of Super Armor in terms of being immune to flinching; but due to this rule, they still take the usual amount of damage or status effects during Flowmotion regardless, which can lead to untimely deaths during it. | ||
{{-}} | {{-}} | ||
Revision as of 05:57, 10 March 2015
Yes, the untapped power that lies within you. Now, child, it's time you awakened that power and realized your full potential.
| ||
| This article needs more information!
Improve it by adding what you know about the following issues. | ||
Flowmotion (フリーフローアクション Furīfurō Akushon, lit. "Freeflow Action") is a gameplay mechanic that appears in Kingdom Hearts 3D: Dream Drop Distance. It allows Sora and Riku to traverse their surrounding environments with great ease when they interact with certain environmental elements. Using Flowmotion, Sora and Riku can jump off of walls, grind rails, leap great heights, and dynamically attack opponents.
When Sora and Riku use Flowmotion, they are enveloped in a violet aura, and they are sometimes accompanied by two orbiting lights of the same color, that trail light behind them.
The full set of Flowmotion commands are automatically equipped to Sora and Riku's command decks after Sora meets Neku in Traverse Town.
Story
Kingdom Hearts 3D: Dream Drop Distance
When Sora awakens in Traverse Town, Neku can be seen using Flowmotion over the rooftops, using a Wall Kick off the side of a particularly tall building. After the two of them meet, Neku heads for the Second District, executing a Pole Spin, Rail Slide, and Super Jump along the way.
In the Grid, when Rinzler attacks Riku and Sam Flynn on the Throneship, Riku uses a Wall Kick to knock Rinzler off of the ship's bridge.
Back in Traverse Town, Riku corners the Spellican in the Third District by Wall Kicking and Super Sliding in front of it, forcing it to switch to Sora's Side.
When Sora confronts the Spellican in Symphony of Sorcery, it leads him on a chase through a starry sky, as he Rail Slides along a sparkling trail.
Mechanics
Flowmotion is activated by pressing ![]() to Dodge Roll or Air Slide into a wall or other interactive object, or by landing on certain environmental features, such as rails or fountains. Sora or Riku will perform a context-sensitive action, such as briefly sticking to and jumping off of a wall or spinning around a pole after Air Sliding into it.
to Dodge Roll or Air Slide into a wall or other interactive object, or by landing on certain environmental features, such as rails or fountains. Sora or Riku will perform a context-sensitive action, such as briefly sticking to and jumping off of a wall or spinning around a pole after Air Sliding into it.
Once a Flowmotion is activated, it can be chained together with additional actions. The player may press ![]() to use a Burst of Speed to travel long distances or transition to another Flowmotion-compatible surface,
to use a Burst of Speed to travel long distances or transition to another Flowmotion-compatible surface, ![]() to perform a Super Jump that boosts the user to a great height, or
to perform a Super Jump that boosts the user to a great height, or ![]() to use a Flowmotion Attack (フリーフローアタック Furīfurō Atakku, lit. "Freeflow Attack"), which depends on the Flowmotion action the player is using. When you finish a boss, a portal, etc, using Kick Dive before you begin to do the shockwave will make the finish quickly vanish.
to use a Flowmotion Attack (フリーフローアタック Furīfurō Atakku, lit. "Freeflow Attack"), which depends on the Flowmotion action the player is using. When you finish a boss, a portal, etc, using Kick Dive before you begin to do the shockwave will make the finish quickly vanish.
Air Sliding tends to allow for an instant transition into Flowmotion, while any Dodge Roll-type command only allows so during the final few frames of the command's recovery; in short, activating Flowmotion is faster with an Air Slide than with a Dodge Roll command, and also works as fast with both Sonic Impact and Double Impact alike.
Any form of Flowmotion also prevents the user from being knocked out of it, allowing for easy interceptions in the style of Super Armor in terms of being immune to flinching; but due to this rule, they still take the usual amount of damage or status effects during Flowmotion regardless, which can lead to untimely deaths during it.
List of Flowmotion commands
| Name | Description |
| Pole Spin (ポールスピン Pōru Supin) |
Slide toward vertical poles and columns with |
| Pole Swing (ポールスイング Pōru Suingu) |
Slide toward horizontal poles and columns with |
| Rail Slide (レールスライド Rēru Suraido) |
Slide at high speed along ropes, rails, and more. |
| Kick Dive (キックダイブ Kikku Daibu) |
Press |
| Buzz Saw (ターンカッター Tānkattā) |
Press |
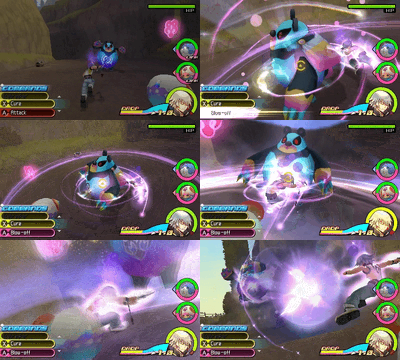
| Blow-off (ブロウオフ Burouofu) |
Press |
| Wheel Rush (ホイールラッシュ Hoīru Rasshu) |
Press |
| Sliding Dive (スライドダイブ Suraido Daibu, lit. "Slide Dive") |
Press |
| Shock Dive (ショックダイブ Shokku Daibu) |
Press |


