| Site Notice |
|---|
|
Remember to pay a visit to our Discord server and chat with our community! See here for more info. Be sure to check out the KHUX Wiki for the latest on Kingdom Hearts Union χ and Kingdom Hearts Dark Road! Go and pitch in! The KHWiki contains spoilers for all Kingdom Hearts games. Read at your own risk. Please remember not to add information about unreleased games from trailers. |
Lucky Emblem: Difference between revisions
Tag: Undo |
KrytenKoro (talk | contribs) No edit summary |
||
| Line 1: | Line 1: | ||
{{game|KH3}} | {{game|KH3}} | ||
{{ | {{cleanup|Lucky Emblem locations; redo screenshots to not have the "taking screenshot" thing}} | ||
[[File:Lucky Emblem KHIII.png|thumb|250px|Sora photographs a Lucky Emblem.]] | [[File:Lucky Emblem KHIII.png|thumb|250px|Sora photographs a Lucky Emblem.]] | ||
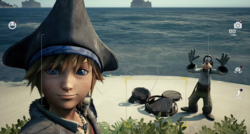
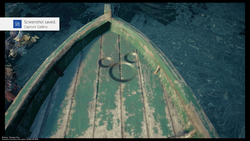
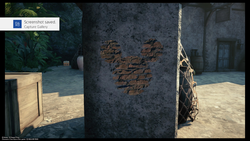
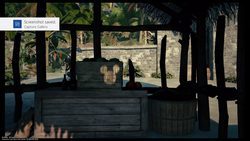
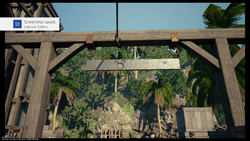
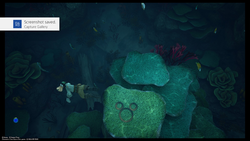
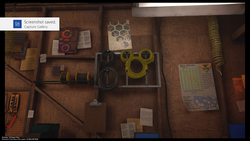
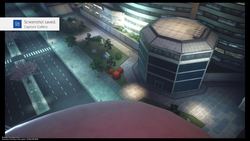
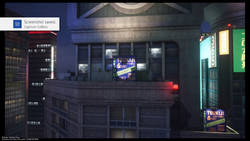
'''Lucky Emblems''' are {{w|Hidden Mickey}}s in the worlds of ''[[Kingdom Hearts III]]''. They can be photographed with the [[Gummiphone]]. While the majority of them are simply standard Mickey Heads stamped into a wall, they can sometimes be more esoteric, incorporating standard objects that resemble a Mickey Head when viewed from a specific angle. | '''Lucky Emblems''' are {{w|Hidden Mickey}}s in the worlds of ''[[Kingdom Hearts III]]''. They can be photographed with the [[Gummiphone]]. While the majority of them are simply standard Mickey Heads stamped into a wall, they can sometimes be more esoteric, incorporating standard objects that resemble a Mickey Head when viewed from a specific angle. | ||
Revision as of 15:00, 10 June 2019
Oh no! The water! I'm in big trouble if I don't fetch it!
| |
| This article requires cleanup or improvement.
Please help out by editing this page. Please see the Manual of Style and editing help before getting started. Issues: Lucky Emblem locations; redo screenshots to not have the "taking screenshot" thing | |
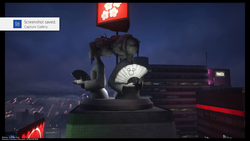
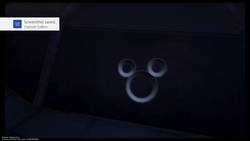
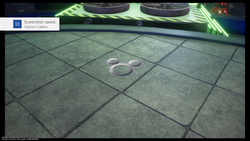
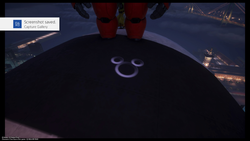
Lucky Emblems are Hidden Mickeys in the worlds of Kingdom Hearts III. They can be photographed with the Gummiphone. While the majority of them are simply standard Mickey Heads stamped into a wall, they can sometimes be more esoteric, incorporating standard objects that resemble a Mickey Head when viewed from a specific angle.
Story
Kingdom Hearts III
Gameplay
Sora is given a reward once a certain number of Lucky Emblems are photographed.
| # | Reward |
|---|---|
| 1 | AP Boost |
| 3 | Mega-Potion |
| 5 | Expert's Ring |
| 10 | Thundara Trinket |
| 15 | Moon Amulet |
| 20 | Magic Boost |
| 25 | Star Charm |
| 30 | Ribbon |
| 35 | Buster Band+ |
| 40 | Strength Boost |
| 45 | Master's Necklace |
| 50 | Wisdom Ring |
| 55 | Defense Boost |
| 60 | Orichalcum Ring |
| 65 | Cosmic Belt+ |
| 70 | Royal Ribbon |
| 80 | Orichalcum+ |
| 90 | Mickey Clasp |
The amount of Lucky Emblems photographed is tied to unlocking the Secret Ending. The player must photograph all 90 on Beginner Mode, 60 on Standard Mode, and 30 on Proud Mode; no emblems are required on Critical Mode.
List of Lucky Emblems
Olympus
Olympus has 12 Lucky Emblems that need to be photographed.
| Number | Lucky Emblem | Location | Notes |
|---|---|---|---|
| 1 | 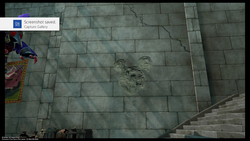 |
Overlook | Imprint on wall |
| 2 | 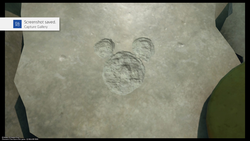 |
The Big Olive | Imprint on wall |
| 3 | 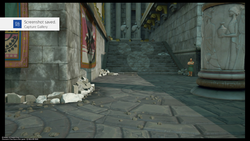 |
Agora | Imprint on stairs |
| 4 | 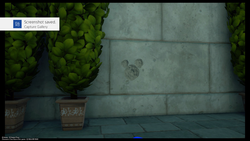 |
Overlook | Imprint on wall |
| 5 | 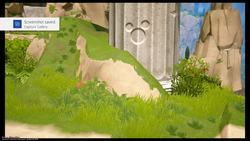 |
Cliff Ascent | Imprint on pillar |
| 6 | 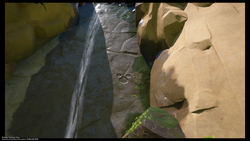 |
Cliff Ascent | Imprint on wall next to waterfall |
| 7 | 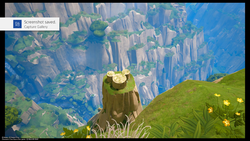 |
Cliff Ascent | Rock formation |
| 8 | 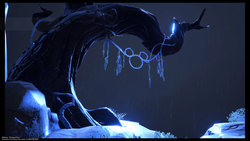 |
Mountainside | Made out of vines |
| 9 | 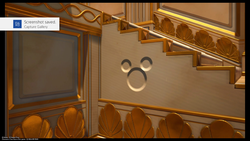 |
Corridors | Imprint on wall |
| 10 | 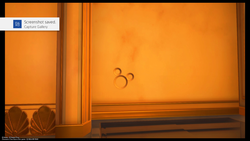 |
Corridors | Imprint on wall |
| 11 | 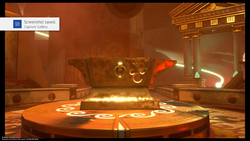 |
Secluded Forge | Imprint on anvil |
| 12 | 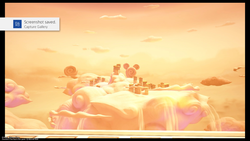 |
Cloud Ridge | Cloud formation |
Twilight Town
Twilight Town has 9 Lucky Emblems that need to be photographed.
| Number | Lucky Emblem | Location | Notes |
|---|---|---|---|
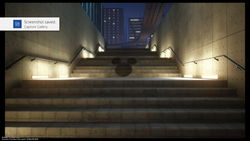
| 1 | 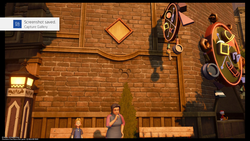 |
Tram Common | Imprint on wall next to Gummi Shop |
| 2 | 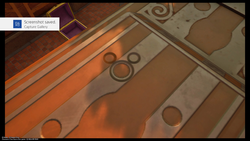 |
Tram Common | Imprint on tram roof |
| 3 | 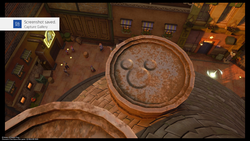 |
Tram Common | Imprint on chimney |
| 4 | 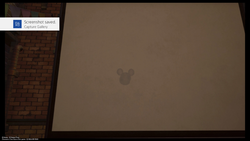 |
Tram Common | Imprint on screen, have to wait for short to finish before being able to photographed |
| 5 | 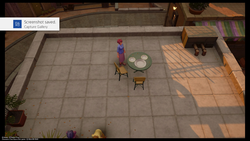 |
Tram Common | Made of plates on rooftop terrace |
| 6 | 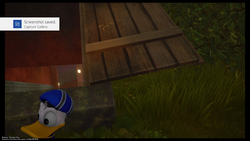 |
Tram Common | Imprint on cellar's door |
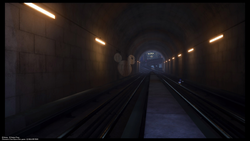
| 7 |  |
The Woods | Imprint on wall near Underground Conduit |
| 8 | 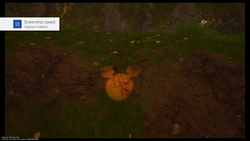 |
The Woods | Light cast through the trees on a hill |
| 9 | 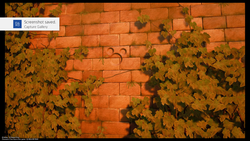 |
The Old Mansion | Imprint on wall |
Toy Box
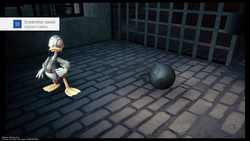
Toy Box has 11 Lucky Emblems that need to be photographed.
| Number | Lucky Emblem | Location | Notes |
|---|---|---|---|
| 1 | 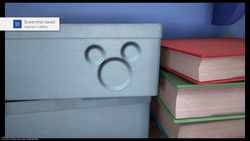 |
Andy's House | Imprint on box |
| 2 | 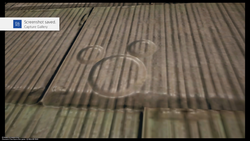 |
Andy's House | Imprint on roof |
| 3 | 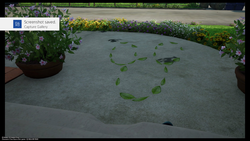 |
Andy's House | Made of leaves |
| 4 | 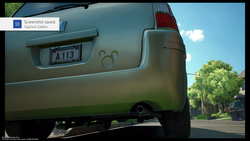 |
Andy's House | Imprint on car |
| 5 | 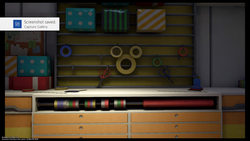 |
Main Floor: 1F | Made of tape |
| 6 |  |
Main Floor: 1F | Imprint on wall. Requires a Gigas to destroy the display model. |
| 7 | 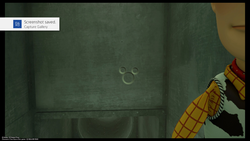 |
Lower Vents | Imprint on wall |
| 8 | 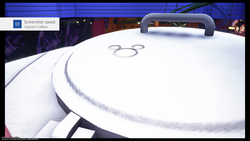 |
Main Floor: 3F | Imprint on UFO |
| 9 | 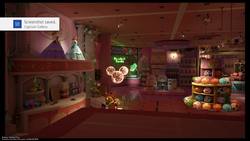 |
Babies & Toddlers: Dolls | Made of disco balls, have to be taken from a specific angle in order to be photographed |
| 10 | 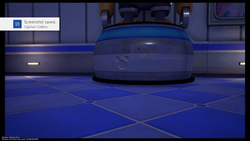 |
Main Floor: 3F | Imprint on stand |
| 11 | 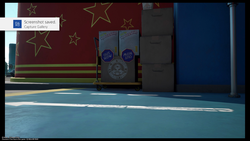 |
Main Floor: 1F | Made of box and stickers, just outside the store. |
Kingdom of Corona
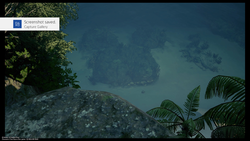
Kingdom of Corona has 9 Lucky Emblems that need to be photographed.
| Number | Lucky Emblem | Location | Notes |
|---|---|---|---|
| 1 | 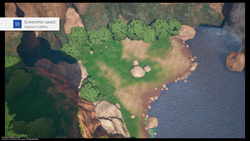 |
Tower | Rock formation, have to be photographed from the roof of Rapunzel's Tower |
| 2 |  |
Marsh | Imprint on wall |
| 3 | 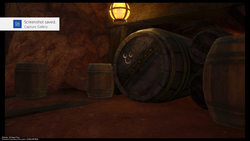 |
Wetlands | Imprint on barrel in a cave |
| 4 | 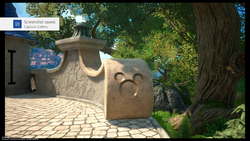 |
Shore | Imprint on bridge |
| 5 | 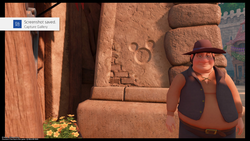 |
Thoroughfare | Imprint on arch |
| 6 | 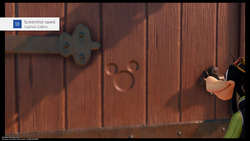 |
Thoroughfare | Imprint on door |
| 7 | 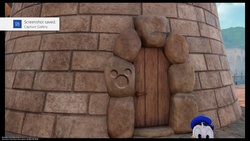 |
Wharf | Imprint on doorpost |
| 8 | 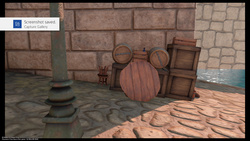 |
Wharf | Made of crates and barrels |
| 9 | 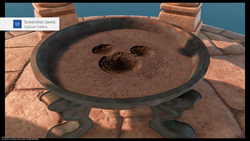 |
Wharf | Imprint on pedestal on tower |
Monstropolis
Monstropolis has 11 Lucky Emblems that need to be photographed.
| Number | Lucky Emblem | Location | Notes |
|---|---|---|---|
| 1 | 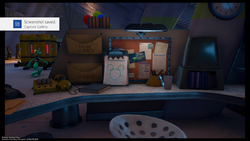 |
Laugh Floor | Drawing on clipboard |
| 2 | 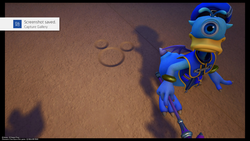 |
Laugh Floor | Imprint on floor underneath clown |
| 3 | 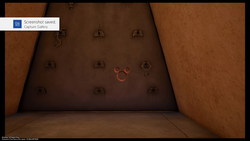 |
Upper Level | Imprint on wall |
| 4 | 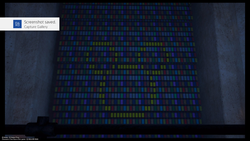 |
Upper Level | Made of doors |
| 5 | 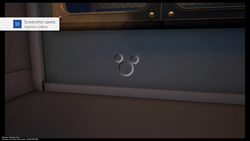 |
Ground Floor | Imprint on wall |
| 6 | 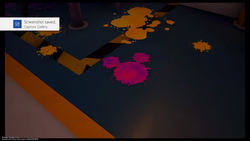 |
Ground Floor | Paint spill on floor |
| 7 | 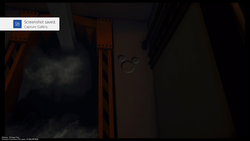 |
Second Floor | Imprint on wall |
| 8 | 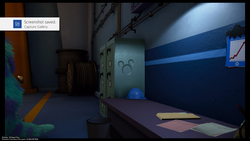 |
Accessway | Imprint on file cabinet; near save point |
| 9 | 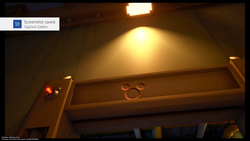 |
Accessway | Imprint on doorpost |
| 10 | 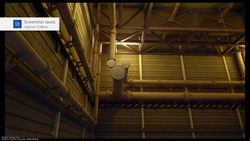 |
Tank Yard | Made of pipes, have to photographed from a specific angle |
| 11 | 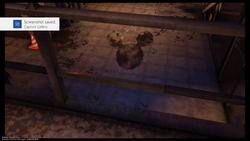 |
Door Vault Passage | Imprint on floor, can be only be photographed after finishing the world |
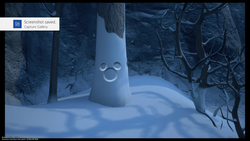
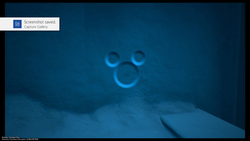
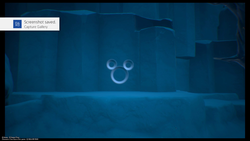
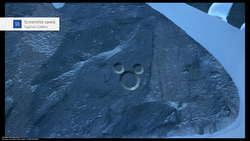
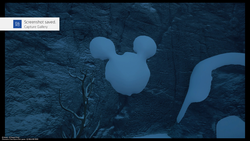
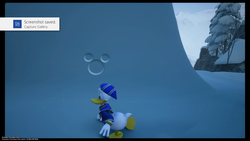
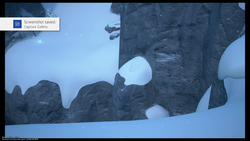
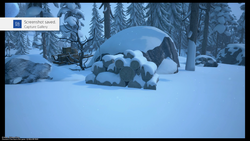
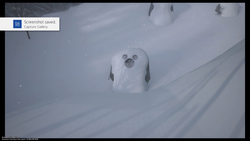
Arendelle
Arendelle has 11 Lucky Emblems that need to be photographed.
100 Acre Wood
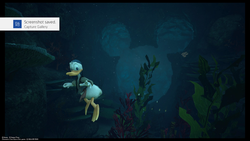
100 Acre Wood has 3 Lucky Emblems that need to be photographed.
| Number | Lucky Emblem | Location | Notes |
|---|---|---|---|
| 1 | 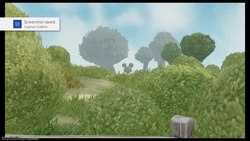 |
Tree formation in the distance | |
| 2 | 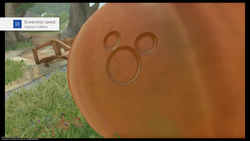 |
Imprint on pumpkin | |
| 3 | 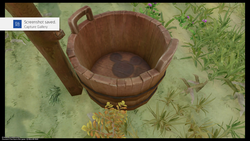 |
Imprint on the bottom of the bucket |
The Caribbean
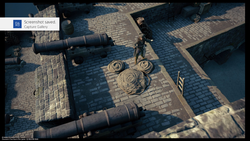
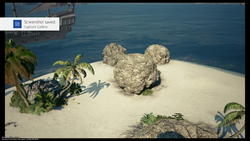
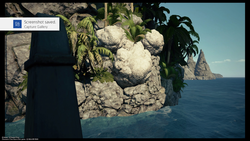
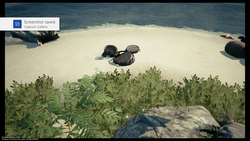
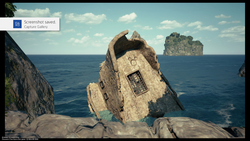
The Caribbean has 13 Lucky Emblems that need to be photographed.
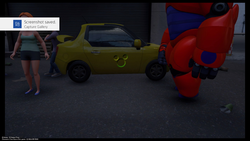
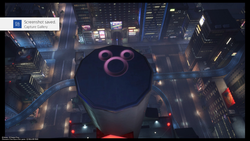
San Fransokyo
San Fransokyo has 11 Lucky Emblems that need to be photographed.

