Walkthrough:Kingdom Hearts/End of the World: Difference between revisions
BraviDunno (talk | contribs) m (And since this appearance is used in 1.5) |
Tag: Undo |
||
| (6 intermediate revisions by 5 users not shown) | |||
| Line 119: | Line 119: | ||
{{Template:WKH1HBoss | {{Template:WKH1HBoss | ||
|name=World of Chaos I | |name=World of Chaos I | ||
|image=World of Chaos ( | |image=World of Chaos (Dark Figure) 01 KH.png | ||
|size=200px | |size=200px | ||
|hp= | |hp= | ||
| Line 137: | Line 137: | ||
}} | }} | ||
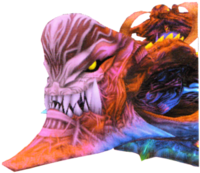
A cutscene will show {{Wtext|Ansem|b}} going into rest underneath his Heartless emblem. A portal will appear which {{Wtext|Sora|c}} will soon head into. Inside you must fight numerous {{Wtext| | A cutscene will show {{Wtext|Ansem|b}} going into rest underneath his Heartless emblem. A portal will appear which {{Wtext|Sora|c}} will soon head into. Inside you must fight numerous {{Wtext|Shadow|e}}s in the dark, once defeated, defeat the {{Wtext|Room Core|e}}, then you must defeat the {{Wtext|Artillery|e}} of the {{Wtext|World of Chaos|e}}, then enter the portal that has been fixed, now {{Wtext|Goofy|c}} will fight alongside you, defeat the {{Wtext|Darkballs|e}} that appear then defeat the {{Wtext|Room Core|e}}. Now you must fight the {{Wtext|Face|b}} of the {{Wtext|World of Chaos|b}}. | ||
{{Template:WKH1HBoss | {{Template:WKH1HBoss | ||
| Line 165: | Line 165: | ||
{{Template:WKH1HBoss | {{Template:WKH1HBoss | ||
|name=World of Chaos II | |name=World of Chaos II | ||
|image=World of Chaos ( | |image=World of Chaos (Dark Figure) 01 KH.png | ||
|size=200px | |size=200px | ||
|hp= | |hp= | ||
| Line 186: | Line 186: | ||
{{WKH1TOC}} | {{WKH1TOC}} | ||
[[Category:Kingdom Hearts walkthrough|{{SUBPAGENAME}}]] | |||
Latest revision as of 17:26, 24 May 2023

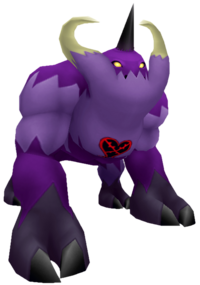
Once you land on this world, use the Save Point then head out of the small cave. You'll now be in the Final Dimension where the party converses about what happens to them and this world after they defeat Ansem. Once back in control, head straight and a battle will ensue with Invisibles. After the battle, head right to the chest and open it to get a Power Up. Head straight from here to another chest open it for an item... and a battle. After the battle you will get a Defense Up. From here head left to another chest containing a Megalixir. Head straight to a red chest that contains a battle for an Omega Arts. Head to the right for a green chest and open it for an Angel Bangle. Head straight from here to another chest with a Megalixir within. From here head northeast up to a chest containing a Defense Up, then head north to another chest with a Three Stars, then to the far west to another chest containing a Power Up and finally head to the south from here to get a Dark Ring from a chest. Then head to the far north to the exit but a ball of dark energy will fall forcing you to fight a Behemoth.
| Behemoth | |||||
|---|---|---|---|---|---|
| HP | STR | DEF | MP R | EXP | |
| 1050 | 35 | 27 | 57 | 450 | |
| Resistances | Weapon | Fire | Blizzard | Thunder | |
| x1.0 | x0 | x0 | x0 | ||
| Gravity | Stop | KO | Other | ||
| x0.03 | x0 | x0.5 | x0.5 | ||
| Rewards | N/A | ||||
| Although it's a bit weaker, cast Aero at the start and jump onto its back and keep attacking its horn. After you keep attacking its horn it will be stunned for a while, allowing a few quick combos but once it regains consciousness you must dodge at once as it will call a dangerously powerful bolt of dark energy. At this point, casting Aero again would be suggested. Use this method over and over and it will lead you to victory. Use Cure and Hi-Potions to heal. | |||||
Now you'll be in a large area known as the Giant Crevasse, an area swept with Gummi remains. Jump and glide to the area where the diamond-shaped gummis are and there should be a blue chest behind them, open it to get a Haste2-G. Keep going to the east and drop down to a platform just below, glide all the way back to the west to a platform with a blue chest on the right. Open it to get a Haste-G. Now look left and there should be a platform with some steps to the side, head there and then turn left again and you'll spot a blue chest on another platform. Head there and open it to get an Esuna-G. Go across the small bridge and drop down to just above the white portal. Turn around and glide, you'll find an area closed off except from above, head there to fight a number of Angel Stars and then drop down from where the red crystal was and open the blue chest to get a Thundara-G. From here, jump and glide to where the Save Point is and save, then jump into the white portal.
Now you'll be in the World Terminus, the hub of where all Heartless enter Worlds. Using the green orb of light will return you to the Giant Crevasse, using the blue orb of light will take you to the next terminal. Head through the blue orb and then into the purple pillar of light. You'll now be in the 3rd District of Traverse Town with a chest just ahead. Walk in and defeat the Heartless that appear then open the chest to get another Brave Warrior. After, head back through the doors to the 1st District. Head through the next blue orb of light to the next purple pillar of light, jump into it to the Rabbit Hole of Wonderland, defeat the Heartless and open the chest to get another Ifrit's Horn. Then head through the doors to the Bizarre Room to return to the World Terminus. Now for the next World, you may or may not see a blue pillar of light. Now if it is blue, it means you have not completed that world. While if it is purple, you have completed and sealed that world's Keyhole. This is now Olympus Coliseum. Defeat the Heartless and open the chest behind the left foot of the gladiator statue to the right. It'll contain an Inferno Band. Go out the World Exit to return to the World Terminus. Repeat this for all other worlds ahead and finally reach the green flame. Walking into it takes you to the Meadow area of the 100 Acre Wood. Open the chest to get a Megalixir and then save. If you want you can complete all the Cups in the Olympus Coliseum as well as complete the 100 Acre Wood, it is suggested to do so before going any further.
After you have completed everything, head back to the World Terminus and head into the flame portal. You will be in a strange hallway, with a Heartless Emblem on the opposite end, a few Invisibles will appear, defeat them then head through the door to the left. Once you're inside, open the Red Chest to the left to get a Megalixir. Examine the machine to read a cryptic message, then once completed Invisibles will appear again, defeat them then head back down to the corridor. The fire portal is now a dark vortex leading into the ground, jump in for a boss fight.
| Chernabog | |||||
|---|---|---|---|---|---|
| HP | STR | DEF | MP R | EXP | |
| 1,500 | 40 | 30 | 58 | 15,000 | |
| Resistances | Weapon | Fire | Blizzard | Thunder | |
| x1.0 | x0.49 | x0.05 | x0.25 | ||
| Gravity | Stop | KO | Other | ||
| x0.01 | x0.1 | x0.5 | x0.5 | ||
| Rewards | Superglide | ||||
| As soon as the battle starts, cast Aero and glide right to the back of his head. Now there are a number of attacks he will use in the battle, first is where he will breath out fire from his mouth, this can be avoided by staying away from the face. Then he can call upon fire to erupt from the volcano, you can either take the damage with Aero or glide away. Then he can swipe his claws which do minimal damage, but to be sure, have Aero on you. He may also blow you to the other side of the arena, which does no damage, but as soon as he does this, he will call upon balls of light to attack you. Just glide to the back of his head again and keep attacking, soon he will be defeated. | |||||
Once you have defeated Chernabog, head down the Volcanic Crater and enter the white portal at the end, soon you'll be walking through a number of hallways, they have elements of destroyed worlds, such as Enchanted Dominion, Dwarf Woodlands and Castle of Dreams. Soon you'll be in the Linked Worlds area, a Behemoth will appear, defeat it then run to the Heartless emblem, it will light up and a piece will break off. During the time that the pieces break off and unseal the exit, you must defeat countless Heartless. Once they have been defeated, and the exit unsealed, you can head into the Final Rest, the last location where you can save your game, and the point of no return. Save your game, open the Blue Chest to get a Megalixir and then examine the door to end the conflict.
Once inside, you'll be at the Homecoming, it looks exactly like the Destiny Island, head to the Secret Place to continue. Soon the Islands will be wrecked and Riku will be on the other side, go up to him for a cutscene.
| Ansem, Seeker of Darkness I | |||||
|---|---|---|---|---|---|
| HP | STR | DEF | MP R | EXP | |
| Resistances | Weapon | Fire | Blizzard | Thunder | |
| Gravity | Stop | KO | Other | ||
| Rewards | N/A | ||||
| When fighting Ansem, simply use Ragnarok and simple Keyblade strikes. Use Aero and Cure. He will use an attack where the Guardian will hit you with Dark energy, another where he will send out Dark scythes and a final one where the Guardian possesses Sora and replaces the "Attack" command with "Freeze", simply avoid pressing | |||||
Head into the crater to battle a Darkside
| Darkside | |||||
|---|---|---|---|---|---|
| HP | STR | DEF | MP R | EXP | |
| Resistances | Weapon | Fire | Blizzard | Thunder | |
| Gravity | Stop | KO | Other | ||
| Rewards | N/A | ||||
| Cast Aero and attack the hands. Avoid its attacks like before. Cast Cure to heal any injuries. | |||||
| Ansem, Seeker of Darkness II | |||||
|---|---|---|---|---|---|
| HP | STR | DEF | MP R | EXP | |
| Resistances | Weapon | Fire | Blizzard | Thunder | |
| Gravity | Stop | KO | Other | ||
| Rewards | N/A | ||||
| Follow the strategy of the previous battle with Ansem, he will also have a new attack which has the Guardian erupt from the ground and grab you. | |||||
After a cutscene, Donald and Goofy will be taken away from and you must fight Ansem and his World of Chaos to get them back.
| World of Chaos I | |||||
|---|---|---|---|---|---|
| HP | STR | DEF | MP R | EXP | |
| Resistances | Weapon | Fire | Blizzard | Thunder | |
| Gravity | Stop | KO | Other | ||
| Rewards | N/A | ||||
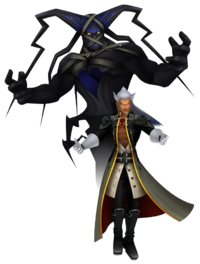
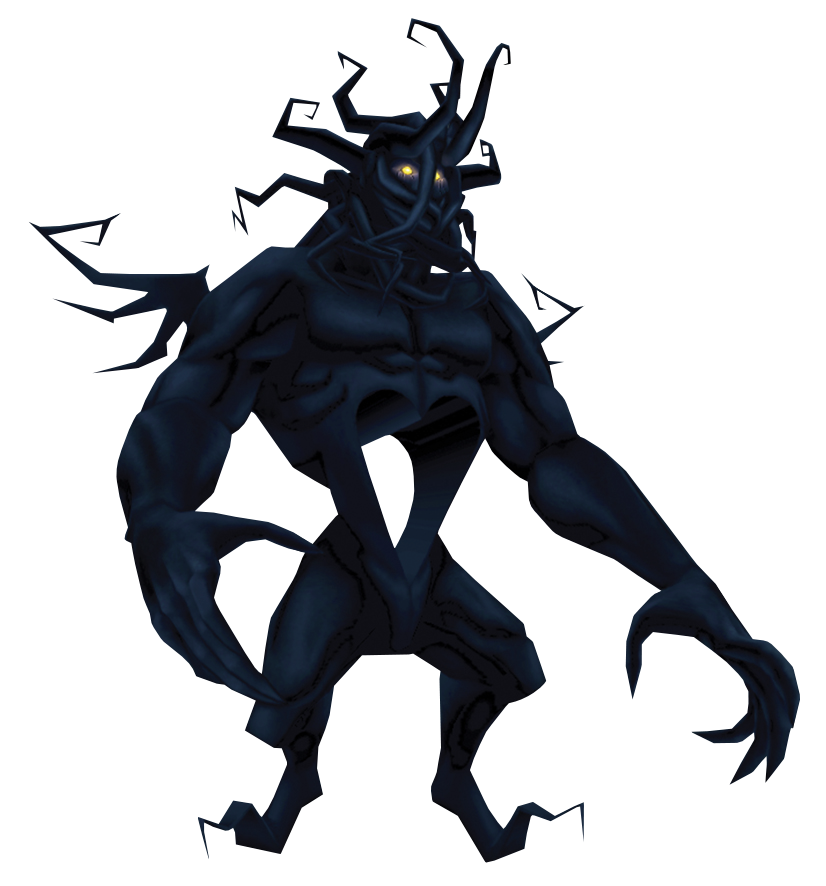
| Start by casting Aero, glide to Ansem and keep attacking him. He will swing his dual-bladed Soul Eater, but don't fret as Aero will lighten the damage received. He will also call to lasers which can be dodged by simply gliding to the right. Once they've ended, head back to Ansem and hit him some more. | |||||
A cutscene will show Ansem going into rest underneath his Heartless emblem. A portal will appear which Sora will soon head into. Inside you must fight numerous Shadows in the dark, once defeated, defeat the Room Core, then you must defeat the Artillery of the World of Chaos, then enter the portal that has been fixed, now Goofy will fight alongside you, defeat the Darkballs that appear then defeat the Room Core. Now you must fight the Face of the World of Chaos.
| Face | |||||
|---|---|---|---|---|---|
| HP | STR | DEF | MP R | EXP | |
| Resistances | Weapon | Fire | Blizzard | Thunder | |
| Gravity | Stop | KO | Other | ||
| Rewards | N/A | ||||
| Again, use Aero and keep attacking it with the Keyblade. It has but only two attacks, calling upon lightning and biting. These can be easily negated heavily by using Aero. | |||||
Once the Face is defeated, glide into the mouth to get Donald into your party. In this room you must fight a number of Invisibles after defeated, take out the Room Core to be freed again.
Now you have to take out the Main Core, once it is taken out, you will fight Ansem one last time.
| World of Chaos II | |||||
|---|---|---|---|---|---|
| HP | STR | DEF | MP R | EXP | |
| Resistances | Weapon | Fire | Blizzard | Thunder | |
| Gravity | Stop | KO | Other | ||
| Rewards | N/A | ||||
| Follow the strategy of the previous Ansem battle, although keep an eye out for Donald and Goofy's HP and MP. | |||||
Congratulations, you have completed the game!
| Kingdom Hearts |
|---|
| Walkthrough |
| Dive to the Heart - Destiny Islands - Traverse Town - Wonderland - Olympus Coliseum - Deep Jungle - 100 Acre Wood - Agrabah - Monstro - Atlantica - Halloween Town - Neverland - Hollow Bastion - End of the World |
| Other |
| 99 Puppies - Trinity Marks - Gummi Missions - Trophies |
